Building a transformer pad involves several critical steps to ensure safety, stability, and compliance with local regulations. The process includes selecting the right location, preparing the site, constructing a robust foundation, and ensuring proper drainage and grounding. This guide provides detailed, practical instructions to help you successfully build a transformer pad that meets industry standards and is tailored to the needs of the American market.
Step-by-Step Guide to Building a Transformer Pad
1. Site Selection
Choose a location that meets local zoning regulations and provides easy access for maintenance. Ensure the site is free from obstructions and away from potential hazards like flooding or heavy traffic.
2. Site Preparation
Clearing and Leveling: Clear the site of debris, vegetation, and any obstacles. Level the ground to create a stable base for the pad.
Excavation: Excavate the area to a depth that accommodates the foundation requirements, typically around 8 to 12 inches, depending on soil conditions and load requirements.
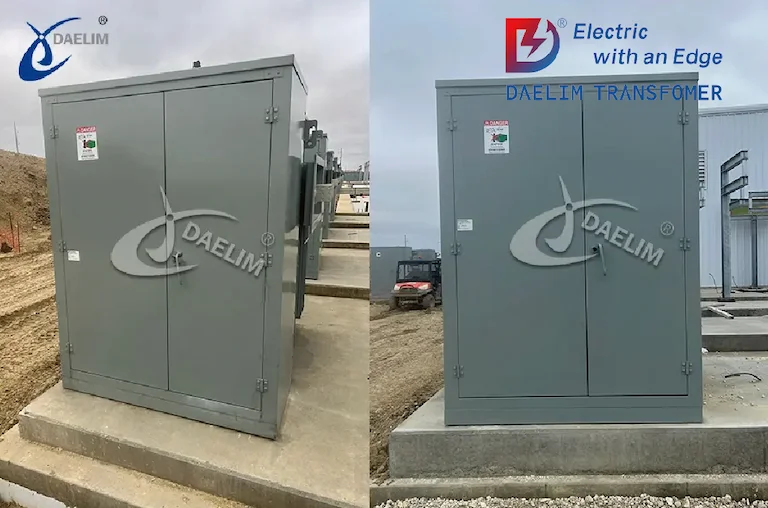
To learn more about the exact construction and uses of the specific pad mounted transformer, follow this link:
Formwork: Construct wooden or metal forms to shape the concrete pad. Ensure the forms are secure and level.
Sub-base: Add a layer of compacted gravel or crushed stone (about 4 to 6 inches) to the excavated area. This sub-base provides stability and assists with drainage.
4. Pouring the Concrete
Reinforcement: Place rebar or wire mesh within the forms to reinforce the concrete. This reinforcement helps the pad withstand heavy loads and environmental stresses.
Concrete Mix: Use a high-quality concrete mix suitable for outdoor use. The mix should have a compressive strength of at least 3,000 psi.
Pouring: Pour the concrete evenly within the forms. Use a shovel or rake to distribute the concrete and remove air pockets.
Finishing: Smooth the surface with a trowel and ensure the pad is level. Create a slight slope (about 1/8 inch per foot) to facilitate water runoff.
5. Curing the Concrete
Allow the concrete to cure properly by keeping it moist for at least 7 days. Use wet burlap, plastic sheeting, or a curing compound to retain moisture. Proper curing enhances the strength and durability of the pad.
6. Grounding and Bonding
Install grounding rods and ensure proper bonding according to local electrical codes. This step is crucial for safety and helps prevent electrical faults.
7. Final Checks and Installation
Inspection: Inspect the pad for any cracks or defects. Ensure it meets all specifications and standards.
Installation: Once the pad is fully cured and inspected, install the transformer and connect it according to manufacturer instructions and local regulations.
By following these detailed steps, you can build a durable and compliant transformer pad that ensures the safe and efficient operation of pad-mounted transformers.
Hello, I am Bin, General manager of Daelim which is a leading transformer manufacturer. If you have problems when you are looking for the equipment, what you need to do is tell us.